
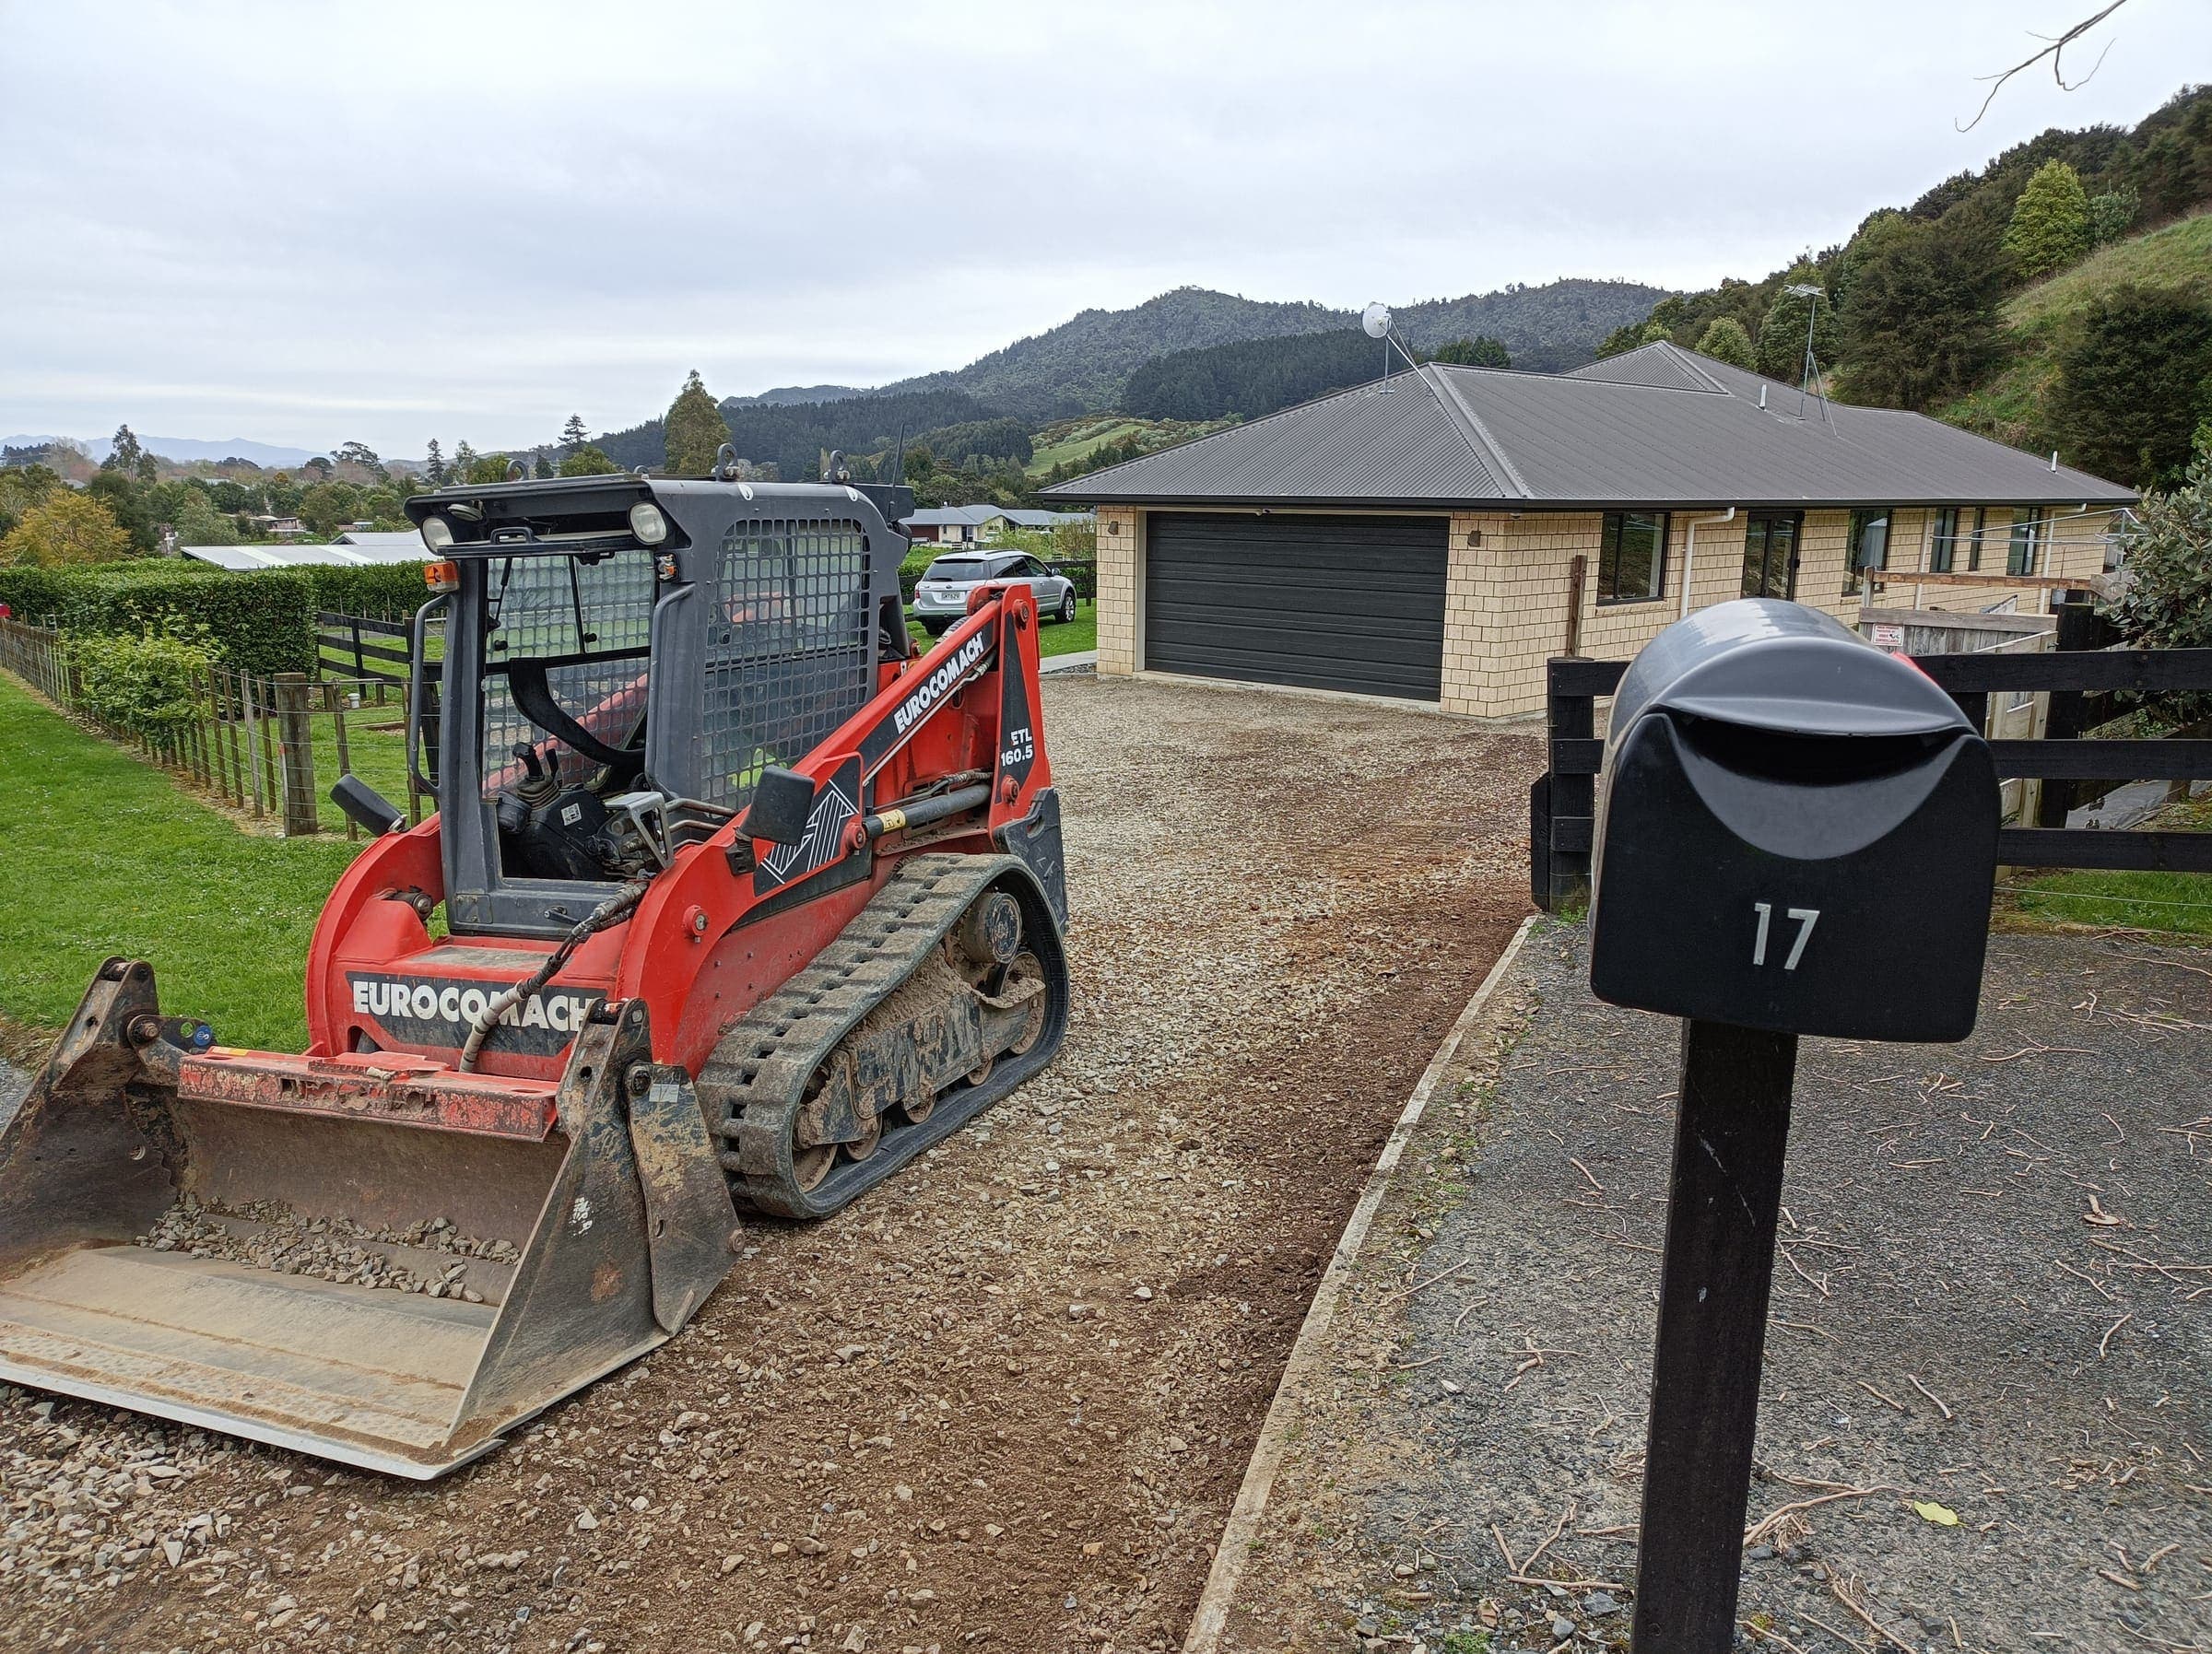
This part, the part with no concrete in it yet, is the part that actually sets the price.
Quick answer: six things decide what a concrete driveway costs in New Zealand, and the surface finish you picture first - broom, exposed aggregate, coloured - is the smallest of them. Site prep, size, slab thickness, access and a council permit usually move the number more. There’s no single NZ figure worth quoting here - a free calculator gets you a size-based starting point, a free site visit gets you the real one.
Nobody googles this on a whim. You’re either replacing a cracked one, finishing a new build, or standing in your own driveway wondering why it looks like that and whether it’s personal. Wherever you landed from, you want a number, and every site that promises you one gives you the same trick: a per-square-metre figure that assumes your section is flat, your soil behaves, and nothing’s in the way. Real sections are rarely that polite, ours included - which is exactly why the honest version of this answer is a list, not a figure.
So instead of a number that’s wrong for your specific driveway, here’s the actual list of things that move it - in the order they usually matter, not the order that’s easiest to photograph for a website. Our own calculator further down does the same size-times-rate maths everyone else’s does - it’s a fast starting point, not an exception to any of this.
The six things that actually move it
Ranked in the order they usually swing a quote, not the order a brochure would put them in. The finish you’ve got Pinterest boards full of is, structurally, the least important row on this table.
| What | Why it moves the price |
|---|---|
| Site prep & groundwork | The single biggest swing - soil, slope, drainage, an old driveway to remove |
| Size & shape | More square metres, more truck-loads, and a curve costs more than a straight run |
| Slab thickness | 100mm covers a normal car; anything heavier parked regularly wants more depth |
| Surface finish | Broom is the baseline; exposed aggregate, cut & seal and coloured oxide add steps |
| Site access | A wheelbarrow relay because the truck can't reach the back costs more than a driveway right off the street |
| Council crossing | A new or widened vehicle crossing is its own permit, separate from the pour itself |
Both industry pricing guides and independent NZ cost calculators land on the same top line, worded differently but meaning the same thing: the groundwork underneath is usually the biggest single cost driver, bigger than the finish on top. When two sources with nothing to gain from agreeing both say the same thing, it’s usually because it’s true.
Why groundwork wins every time
Every driveway quote is really two quotes wearing one jacket: the bit you can see, and the bit that decided how hard the first bit was going to be.
Poor soil, a slope that needs cutting back, drainage that has to go somewhere it currently doesn’t, an old driveway that needs breaking out and hauling away before anything new goes in - all of it happens before a single truck of concrete turns up, and none of it is visible in the finished photo you show your neighbour. Waikato clay in particular has opinions about drainage, and those opinions cost time before they cost anything else.
This is also the part almost nobody can quote accurately over the phone, and not because they’re being cagey - because they genuinely can’t see your soil from their office, and soil has never once emailed anyone a photo of itself unprompted. Anyone who gives you a firm number before standing on your section is quoting the driveway they hope you have, not the one you’ve got.
| What's actually happening under there | Why it takes time |
|---|---|
| Grading and levelling | So the finished slab falls away from the house, not toward it |
| Drainage | Waikato clay holds water - get this wrong and it shows up as a problem later, not on pour day |
| Old driveway removal | Broken out and hauled away before anything new goes in |
| Compaction | A base that isn't packed down properly is a slab that sinks later |
Size, shape and slab thickness
This is the part that behaves like maths, which is a relief after the last section. More square metres means more concrete, more reinforcing, and more truck trips - the relationship is genuinely that straightforward.
Shape is the twist nobody budgets for: a straight, single-width run is the cheapest thing you can pour. A curve, a double-width driveway, or an odd angle around an existing garden bed all add boxing and cutting time that a straight rectangle skips entirely - the concrete costs the same, the labour around it doesn’t, and the curve you fell in love with on Pinterest is quietly billing you for every degree of it.
Thickness is the quiet one. A standard residential driveway sits around 100mm - enough for a normal car, parked normally, for a normal amount of time. Push that up if a trailer, a boat, or anything with more axles than a hatchback is going to live on it regularly. Thicker isn’t an upsell; it’s the difference between a driveway that lasts and one that quietly develops opinions about your caravan.
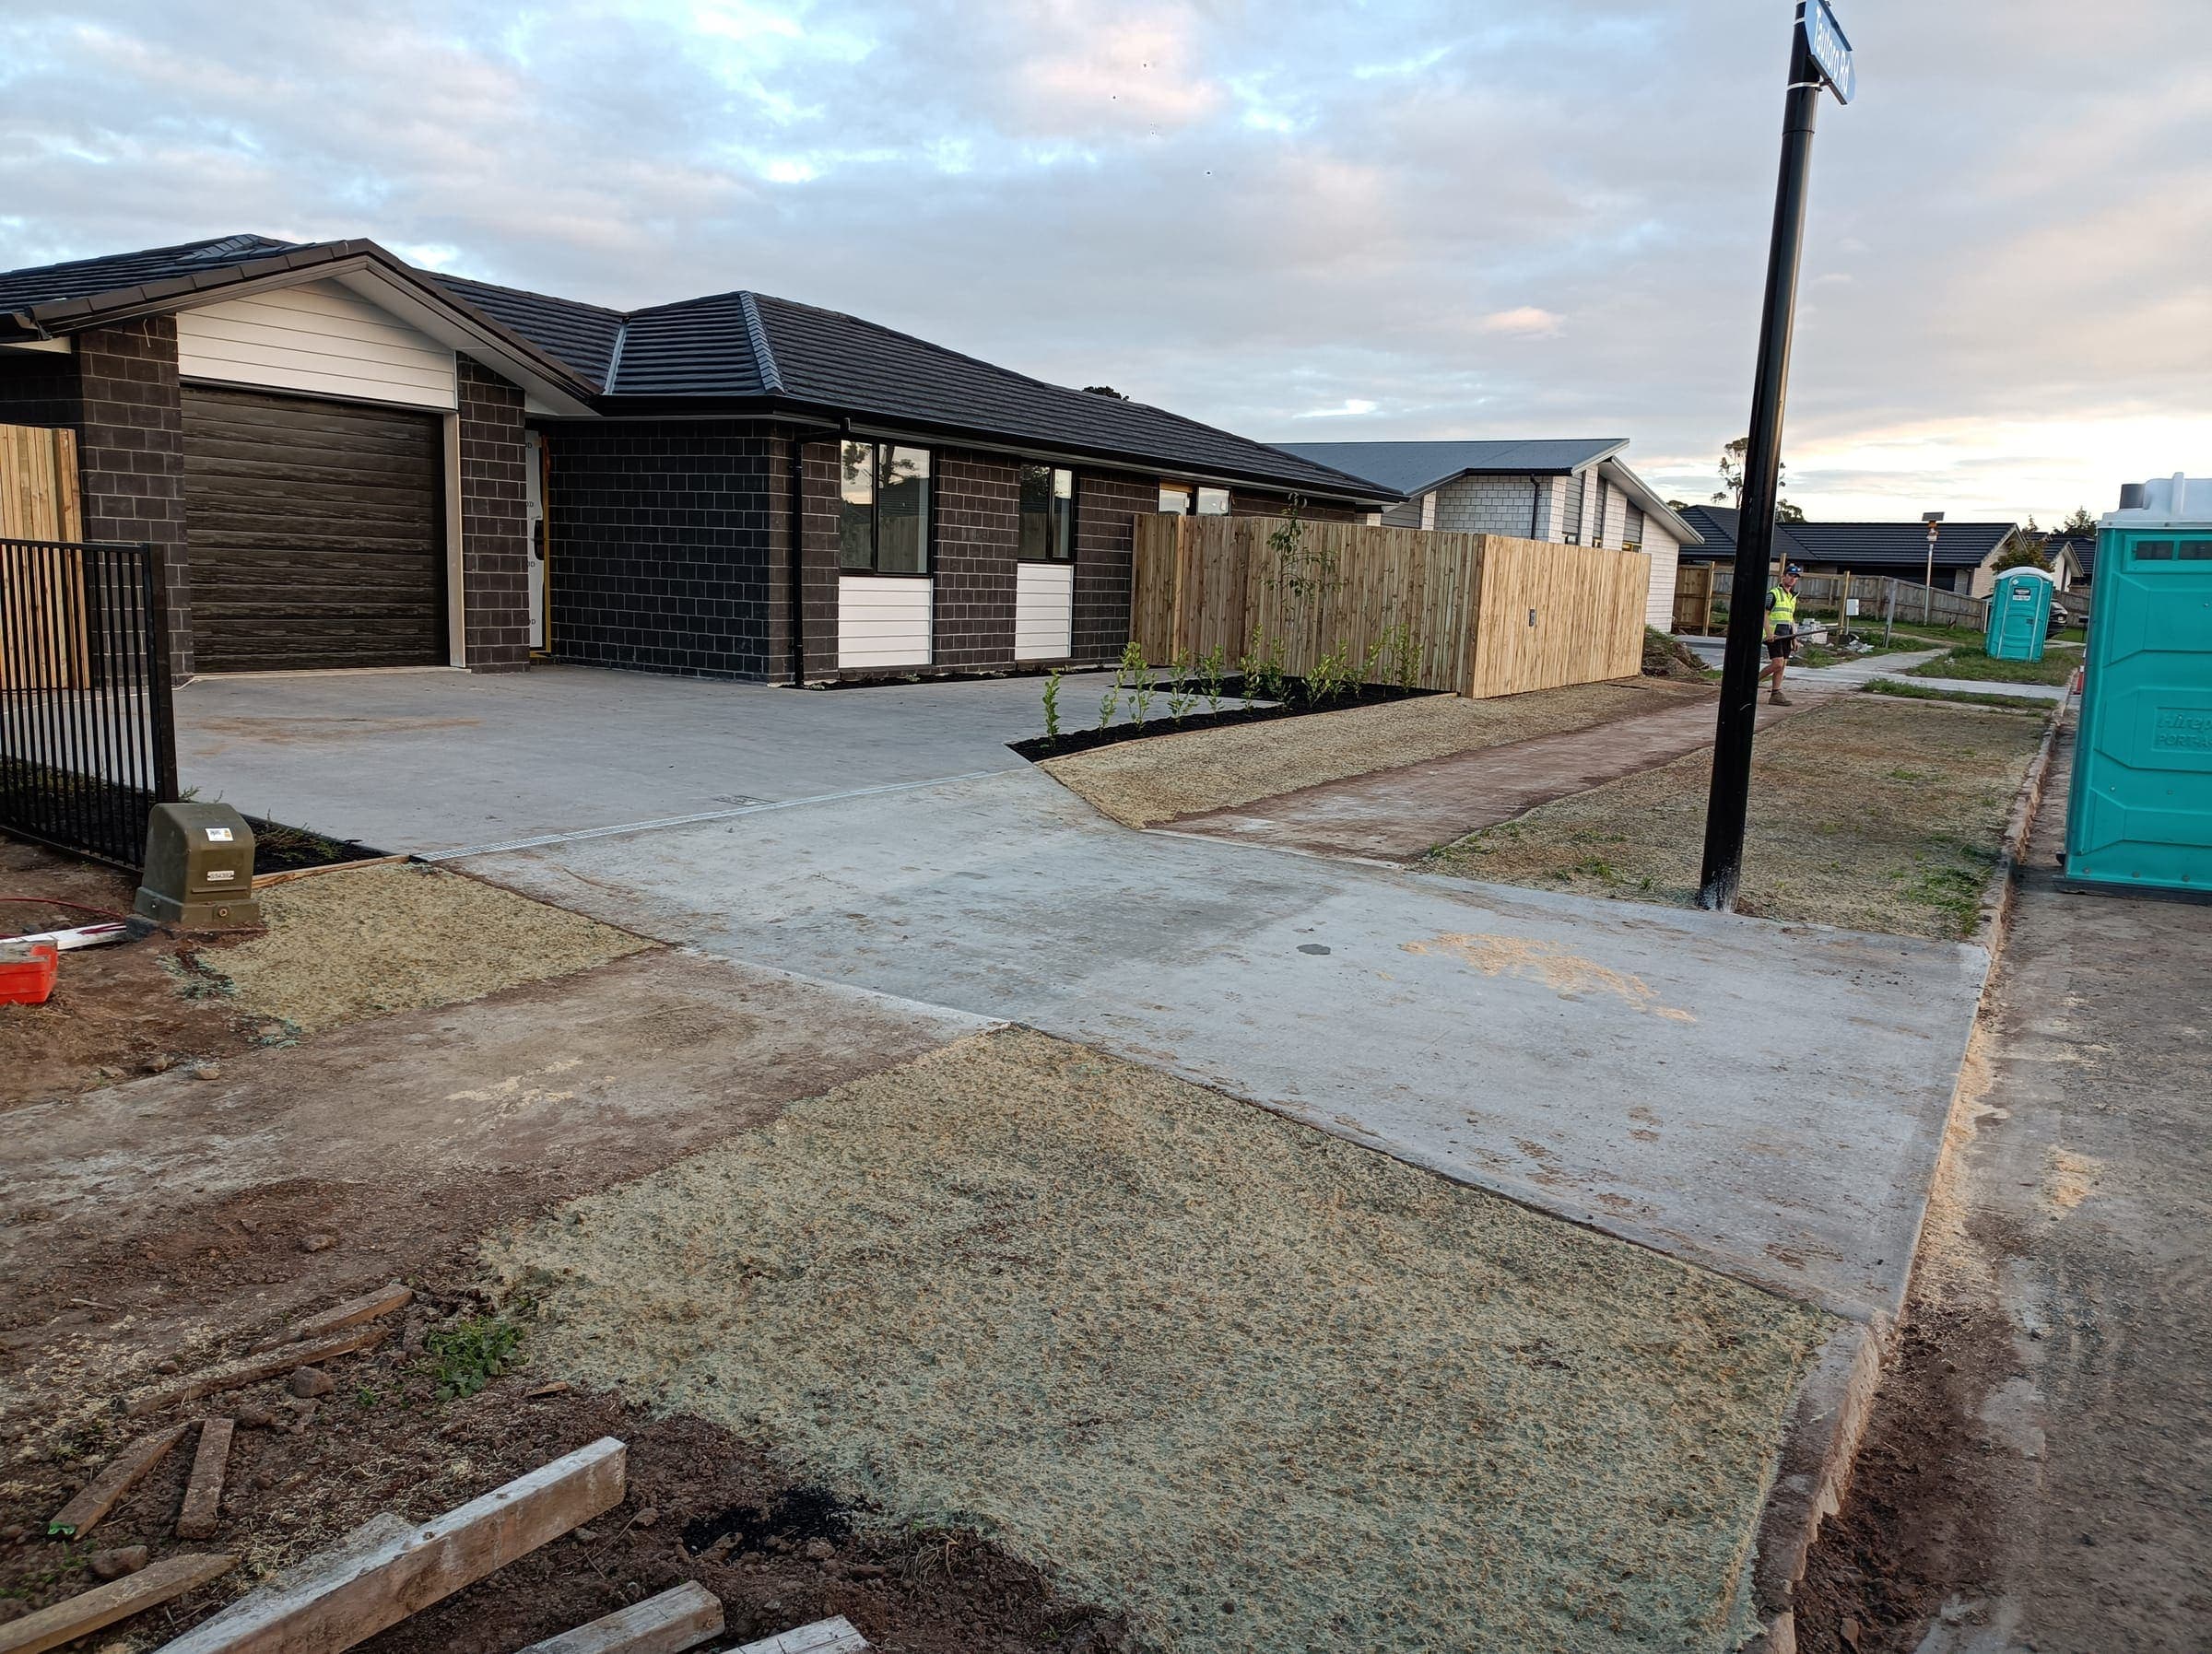
Same crew, same truck, completely different quote depending on what was under this before the pour.
What the finish really costs you
Here’s the part that surprises people most: the finish is a smaller line item than the mood board suggests. Broom, exposed aggregate, cut & seal and coloured oxide are the four finishes we lay across Hamilton and the Waikato, and each one adds a step, not a new project.
Broom finish is the baseline - dead flat, slip-resistant, the default for a reason, and nobody has ever once put a broom-finish driveway on a mood board out of passion. Exposed aggregate washes the stone back after the pour for grip and texture, which is one extra process, not a different material. Cut & seal saw-cuts a pattern into the slab instead of leaving plain control joints, and coloured oxide gets mixed through the full depth of the pour so the colour can’t wear off the way a surface stain eventually does, the concrete equivalent of dyeing the whole jumper instead of just the sleeves. None of these turn a simple pour into a complicated one - they each add one afternoon, not one week.
If your site prep is straightforward, upgrading the finish is a genuinely reasonable place to spend a bit more. If your site prep is fighting you, that’s where the money’s actually going, and no finish choice changes that fight.
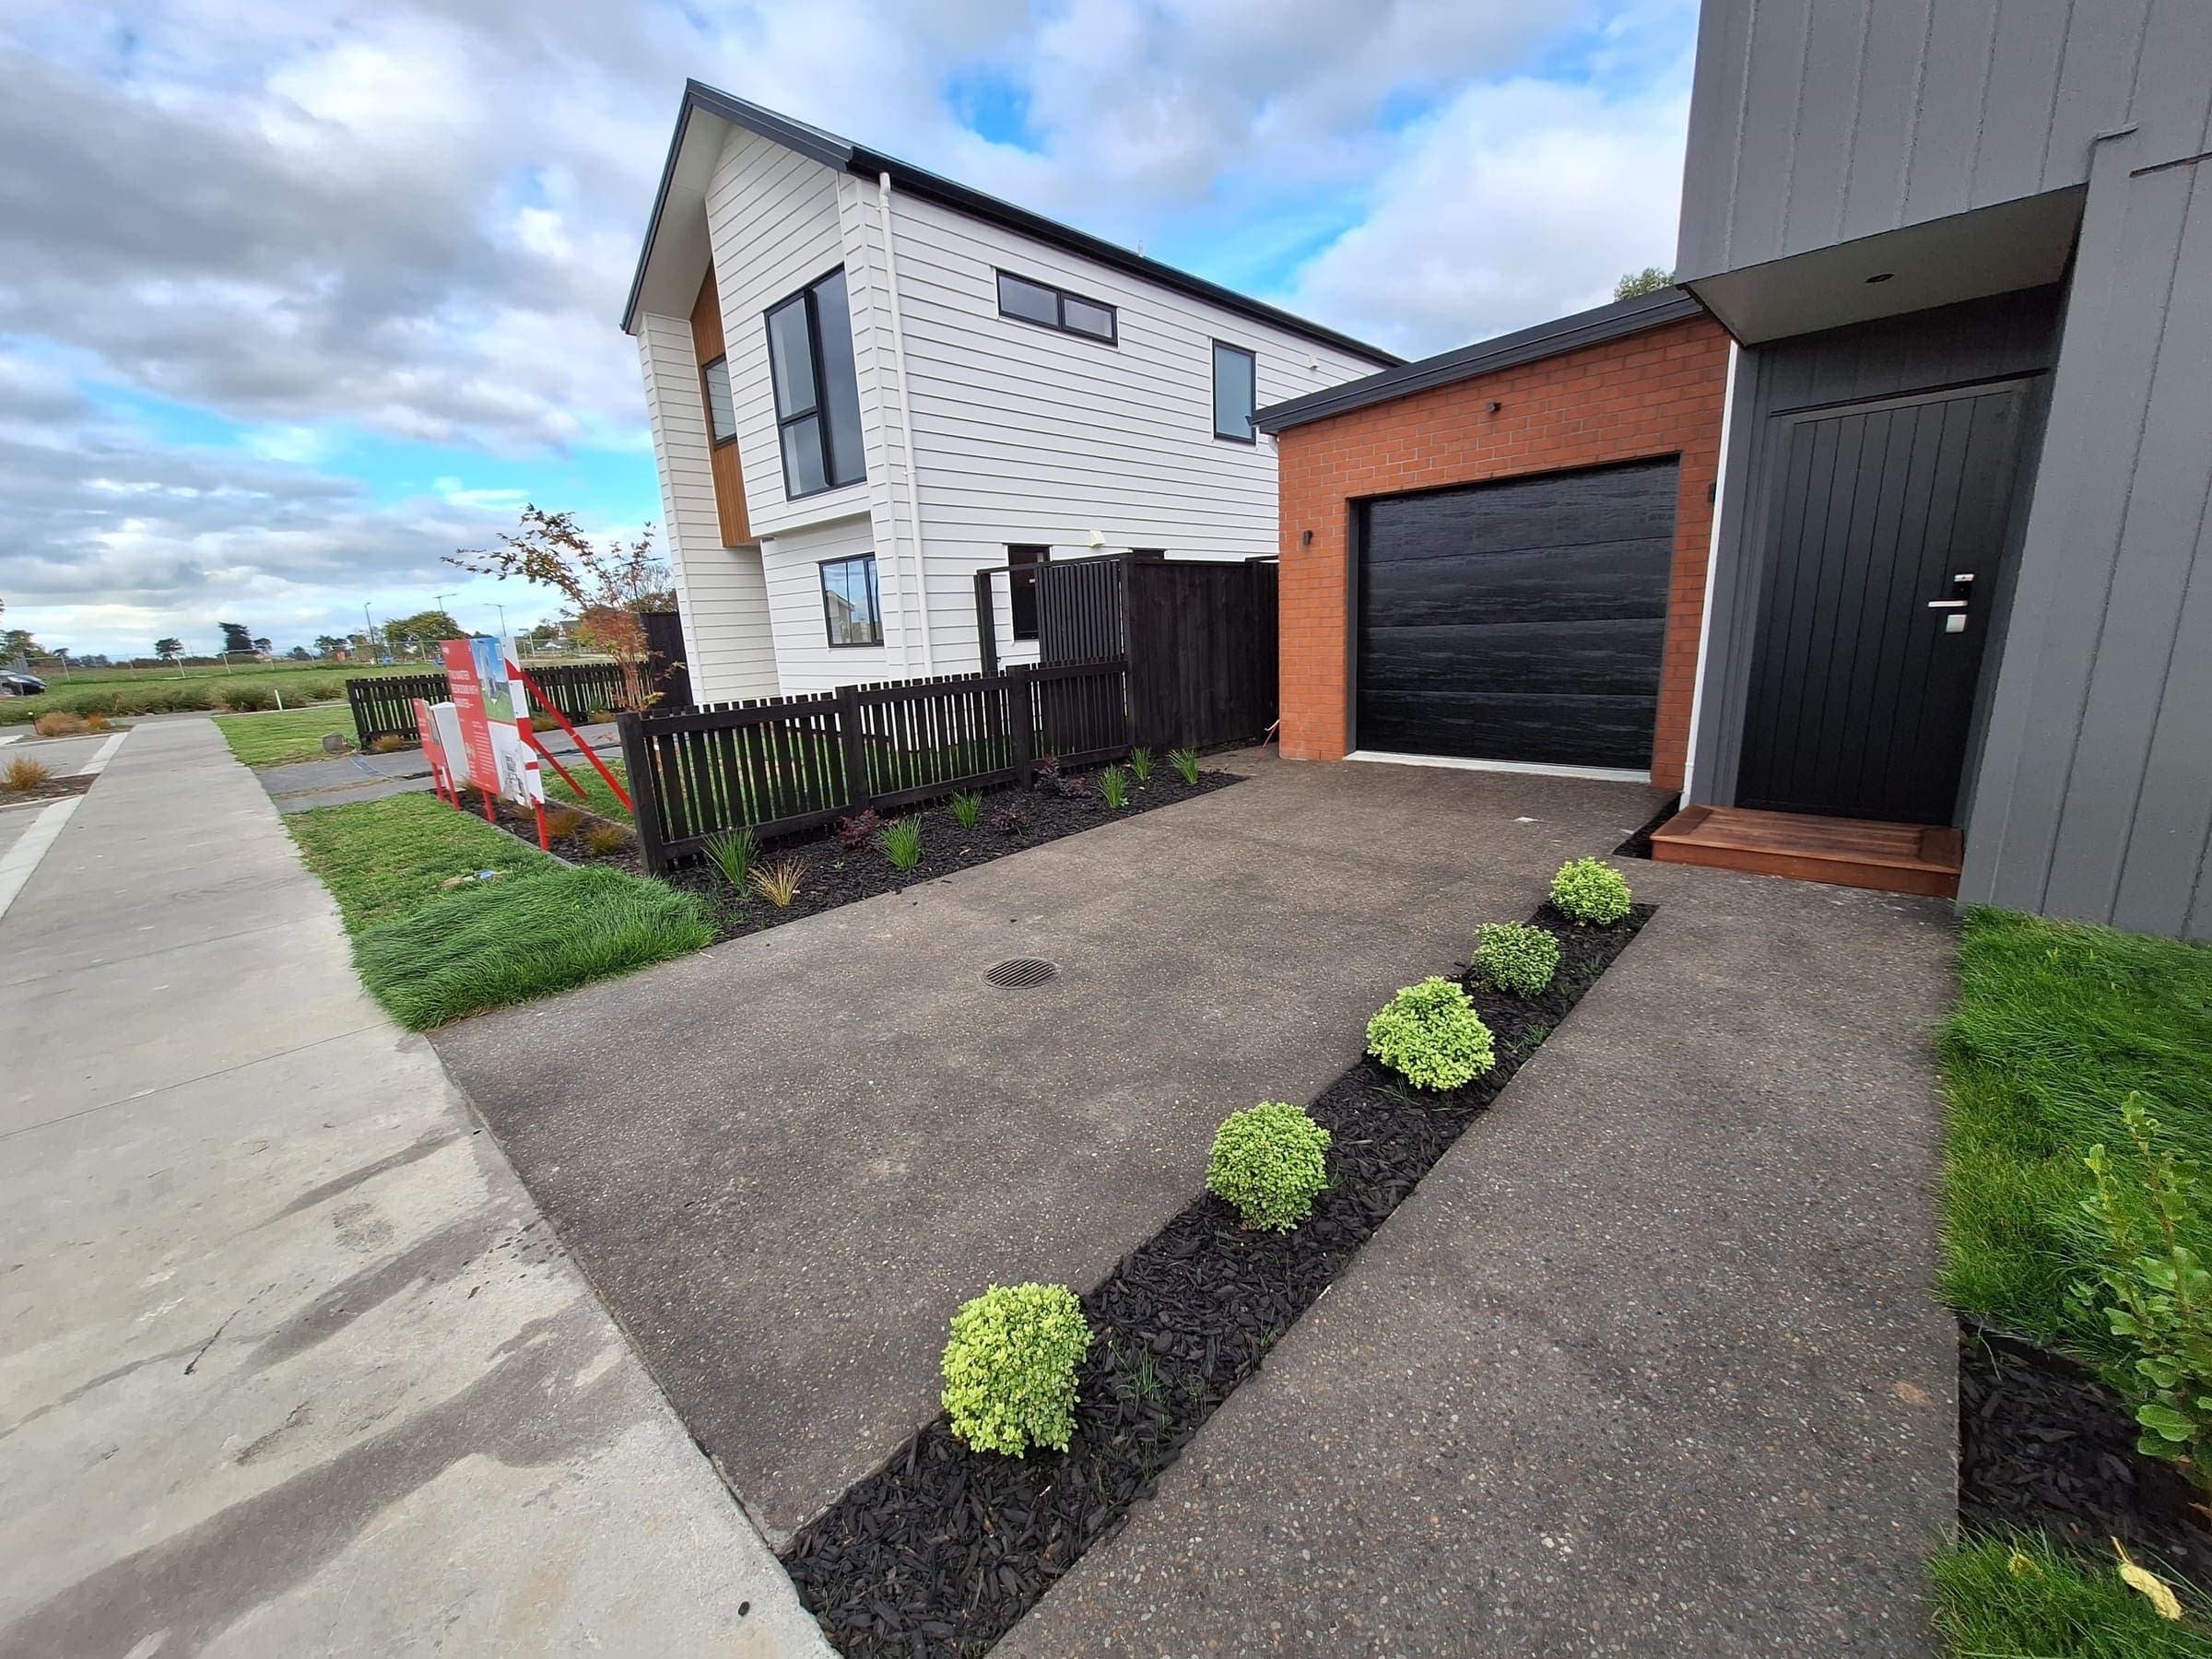
The finish is the part everyone photographs. It’s also the smallest line on the quote.
Access, and the permit nobody mentions
Two more line items that never make it onto a Pinterest board, and both have quietly changed a quote more than once.
Site access is the physical one: if the truck can back straight up to the pour, that’s the easy version. If it can’t - a narrow side gate, a steep drop, a section where the mixer has to stop at the road and everything gets wheelbarrowed in from there like a very heavy, very unglamorous fun run - that’s extra time and extra hands, and it shows up on the invoice because it showed up on the job.
The council one catches people properly off guard, the way a parking fine catches people off guard who definitely saw the sign. Creating a brand-new vehicle crossing, or widening an existing one, is a council process with its own permit and its own cost, sitting completely outside the concrete work itself - we handle the crossing paperwork as part of the job, but it’s worth knowing upfront that it exists as a separate approval, not a line we quietly fold into “concrete.” Re-pouring an existing crossing in the same footprint usually skips this step, but “usually” is doing some heavy lifting in that sentence - check with your council before you assume either way, because a council that finds out after the fact is a council with opinions and a stop-work notice.
| Easy version | Harder version | |
|---|---|---|
| Access | Truck backs straight up to the pour | Narrow gate, steep drop, or a wheelbarrow relay |
| Crossing | Re-pouring an existing crossing, same footprint | New or widened crossing - its own council permit |
Why almost nobody actually DIYs this
Somewhere in every driveway search, someone considers doing it themselves. This is the part where I gently talk you out of it, using someone else’s regret instead of my own.
One forum post about a DIY pour ends with a line I think about more than I should: “I did over 1 yard by myself with bags of cement, a hose and a hoe. Never again.” Three words carrying the entire weekend. He’s not alone - the same thread is full of people who watched a 10-minute video, felt fully capable, and discovered around hour three that concrete does not negotiate and does not offer a mid-pour tutorial break.
The actual failure modes are unglamorous: poor compaction and the slab sinks later, wrong mix ratio and it never reaches proper strength, wrong weather on the day and the whole pour is compromised before it sets. None of that is visible on pour day. All of it is extremely visible eighteen months later, which is the worst possible time to find out.
And there’s no undo button. A bad paint job gets a second coat. A bad concrete pour gets broken out and poured again, which is the one way to make a cheap driveway more expensive than a professional one would ever have been.
| DIY | A crew who does this weekly | |
|---|---|---|
| Mix and timing | One shot, no rehearsal | Judged by feel, hundreds of pours in |
| Undo option | None - a bad pour is broken out and redone | Same, but it's their redo, not yours |
| Weather call | A guess | Watched the forecast for this exact reason |
| What you save | A labour line | Nothing, if it has to be broken out later |
What we actually quote
We’ve been pouring concrete across Hamilton and the Waikato since 2012, one line in a business that’s quoted well over 6,500 jobs in that time across concrete, fencing, lawns and gardens - which is a lot of afternoons spent standing on other people’s dirt, forming an opinion about it.
Every quote is itemised by trade and written down before we start, and the invoice matches it unless the scope genuinely changes - which is the whole reason we can’t give you a number on this page. Not because we’re protecting a margin, but because the honest number needs your soil, your access and your council file, and none of those three things have ever once loaded in a browser.
Dean and Lyn Peterken had a large concrete driveway done alongside several smaller landscaping jobs, and what they came back with wasn’t about the finish - it was that the work landed “on the dates we had agreed on for a fair price.” That’s the part a mood board can’t show you: a number that matches what you were told, on the day you were told it.
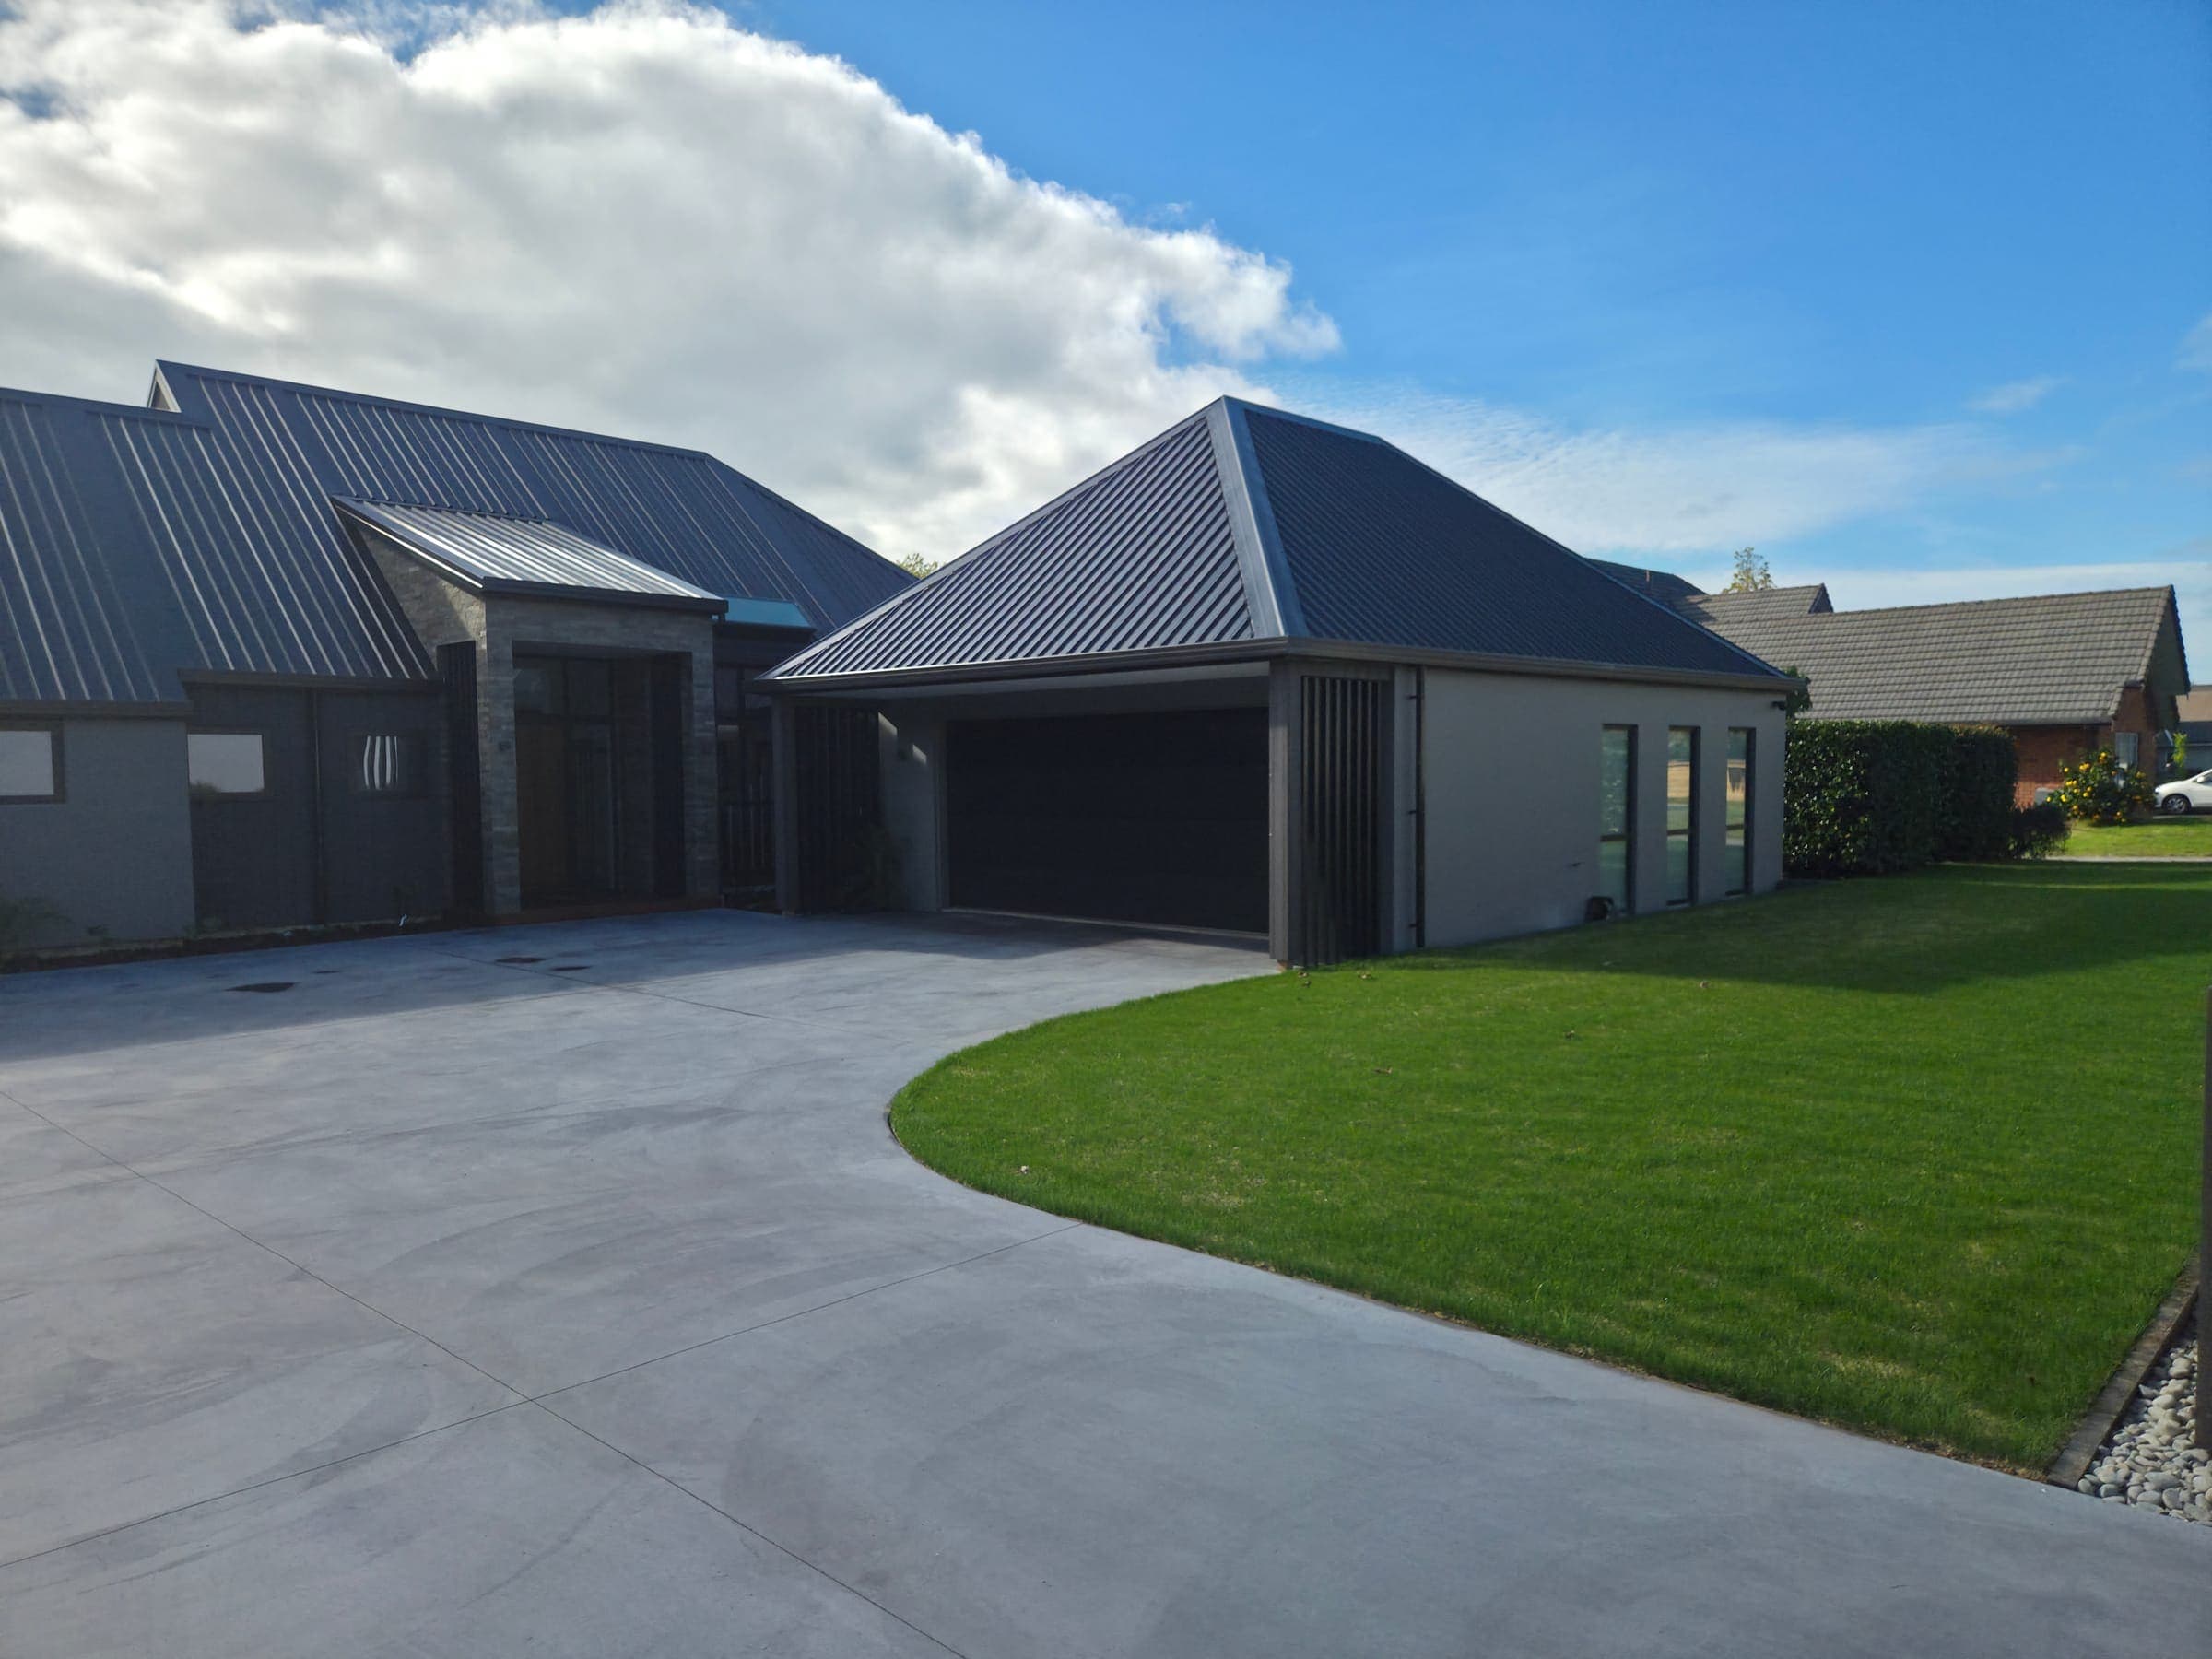
The finished driveway is the easy part to picture. Getting from the quote to this photo is the part worth understanding first.
| The recap | What moves it |
|---|---|
| Biggest driver | Site prep and groundwork - almost always |
| Smallest driver | Surface finish - broom to coloured oxide |
| Easy to forget | A new or widened vehicle crossing needs its own council permit |
| Fast ballpark | The size-based calculator at /cost-calculator - doesn't know your site |
| Real number | A free site visit - the only way to price in prep, access and the crossing |
FAQ
Want a fast ballpark instead of a national average? Try our free concrete driveway cost calculator - it works off size alone, so treat it as a starting point, not a quote. See our concrete driveways page for how we run a pour end to end. Want the real number for your actual site? Get a free, no-obligation quote - we’ll stand on your section before we put anything in writing.